Paint Correction Guide: Techniques, Costs, and DIY Tips
Introduction to Paint Correction
Paint correction is a critical process in auto detailing that involves refining and restoring a vehicle’s paintwork to eliminate surface imperfections. These imperfections, which may include swirl marks, scratches, oxidation, and etching caused by environmental exposure, can detract from a car's appearance and reduce its overall value.
The process of paint correction
The process of paint correction requires a meticulous approach, utilizing specialized tools and products to achieve a flawless finish. It typically involves several steps: thorough cleaning, assessing the paintwork, and using mechanical polishers along with a range of abrasive compounds and polishes to gradually smooth out imperfections.
The primary goal of paint correction
The primary goal is to produce a surface that is as flawless as possible. The end result is not only visually stunning but also provides a protective benefit, as smooth paint is less susceptible to retaining dirt and contaminants. This detailed approach can significantly enhance the gloss and longevity of the vehicle’s paint, ultimately preserving the car’s aesthetic appeal and market value.
The Basics of Paint Correction

Types of Paint Imperfections
Paint imperfections are various forms of damage that detract from the smoothness and appearance of a vehicle's surface. Common types include:
| Type | Description |
|---|---|
| Scratches | Visible marks etched into the surface of the paint, often caused by abrasive contact with hard objects. |
| Swirls | Fine lines or circular scratches that usually result from washing or wiping the car with dirty cloths or sponges. |
| Oxidation | A dull, faded look that occurs when the paint is exposed to oxygen and sunlight over time, leading to the degradation of the paint. |
| Etching | Often caused by acidic substances like bird droppings or tree sap that have not been cleaned off promptly and have consequently damaged the paint. |
Differences Between Paint Correction and Basic Car Washing and Waxing
While regular car maintenance such as washing and waxing is essential for keeping a vehicle looking clean, paint correction is a more comprehensive and intensive process aimed at restoring and protecting the paint at a deeper level. Here are the key differences:
| Aspect | Car Washing | Paint Correction |
|---|---|---|
| Depth of Cleaning | Removes surface dirt and debris. | Addresses deeper imperfections in the paint itself. |
| Techniques and Tools Used | Involves soap, water, and sponges. | Requires specialized tools like orbital polishers, specific abrasive compounds, and finishing polishes. |
| Outcome | Maintains cleanliness and basic protection with wax layers. | Aims to restore the paint to a like-new condition, enhancing the vehicle's gloss, color depth, and overall aesthetics. |
Paint correction is a detailed process that not only improves the appearance of a vehicle but also adds to its longevity and value by preserving the quality of the paintwork.
Tools and Materials Needed for Paint Correction
Paint correction requires a specific set of tools and materials to effectively address and repair paint imperfections. Here’s an overview of essential items needed for this detailed process:
Overview of Tools
Polishers: Essential for mechanical polishing, these tools come in various forms, including orbital and rotary polishers.
Buffing Pads: Used in conjunction with polishers, these pads help apply compounds evenly and safely over the vehicle’s surface.
Microfiber Towels: Crucial for wiping off residues and polishing the car without introducing new scratches.
Lighting: Adequate lighting is vital to spot imperfections accurately during the correction process.
Paint Protection Tools: After correction, tools and materials for applying sealants or ceramic coatings are necessary to protect the paint.
Types of Compounds and Polishes
| Material/Tool | Description |
|---|---|
| Compound | A more abrasive product used to remove heavy imperfections such as deep scratches and etching. |
| Polish | Less abrasive than compounds, used to refine the finish and enhance the paint’s gloss after compounding. |
| Polishing Pads | These are attached to polishers and vary in levels of abrasiveness; different pads are used for compounding and polishing stages. |
| Polishing Machine Brands | High-quality machines, like those from Rupes, provide reliable and efficient polishing capabilities. |
Each of these tools and materials plays a crucial role in achieving a successful paint correction, restoring the vehicle's paint to a condition close to its original state when first applied. Proper use of these tools not only enhances the appearance of the car but also helps maintain its value and prolong the durability of the paintwork.
Step-by-Step Guide to Paint Correction

Paint correction is a detailed process aimed at restoring and enhancing the vehicle’s paintwork. Here’s a comprehensive guide to each step involved in paint correction:
1. Preparing the Vehicle
Washing and Drying Thoroughly: Begin by thoroughly washing the vehicle to remove all surface dirt, grime, and contaminants. Use a high-quality car shampoo and a microfiber wash mitt to avoid adding scratches during the wash. After washing, the car must be completely dried using microfiber towels to ensure no water spots or residues remain.
2. Inspecting the Paintwork
Using a Light Source to Identify Imperfections: Carefully inspect the paintwork using a strong light source, such as an LED detailing light. This step is crucial to identify all visible and hidden imperfections like scratches, swirls, oxidation, and etching that need addressing during the correction process.
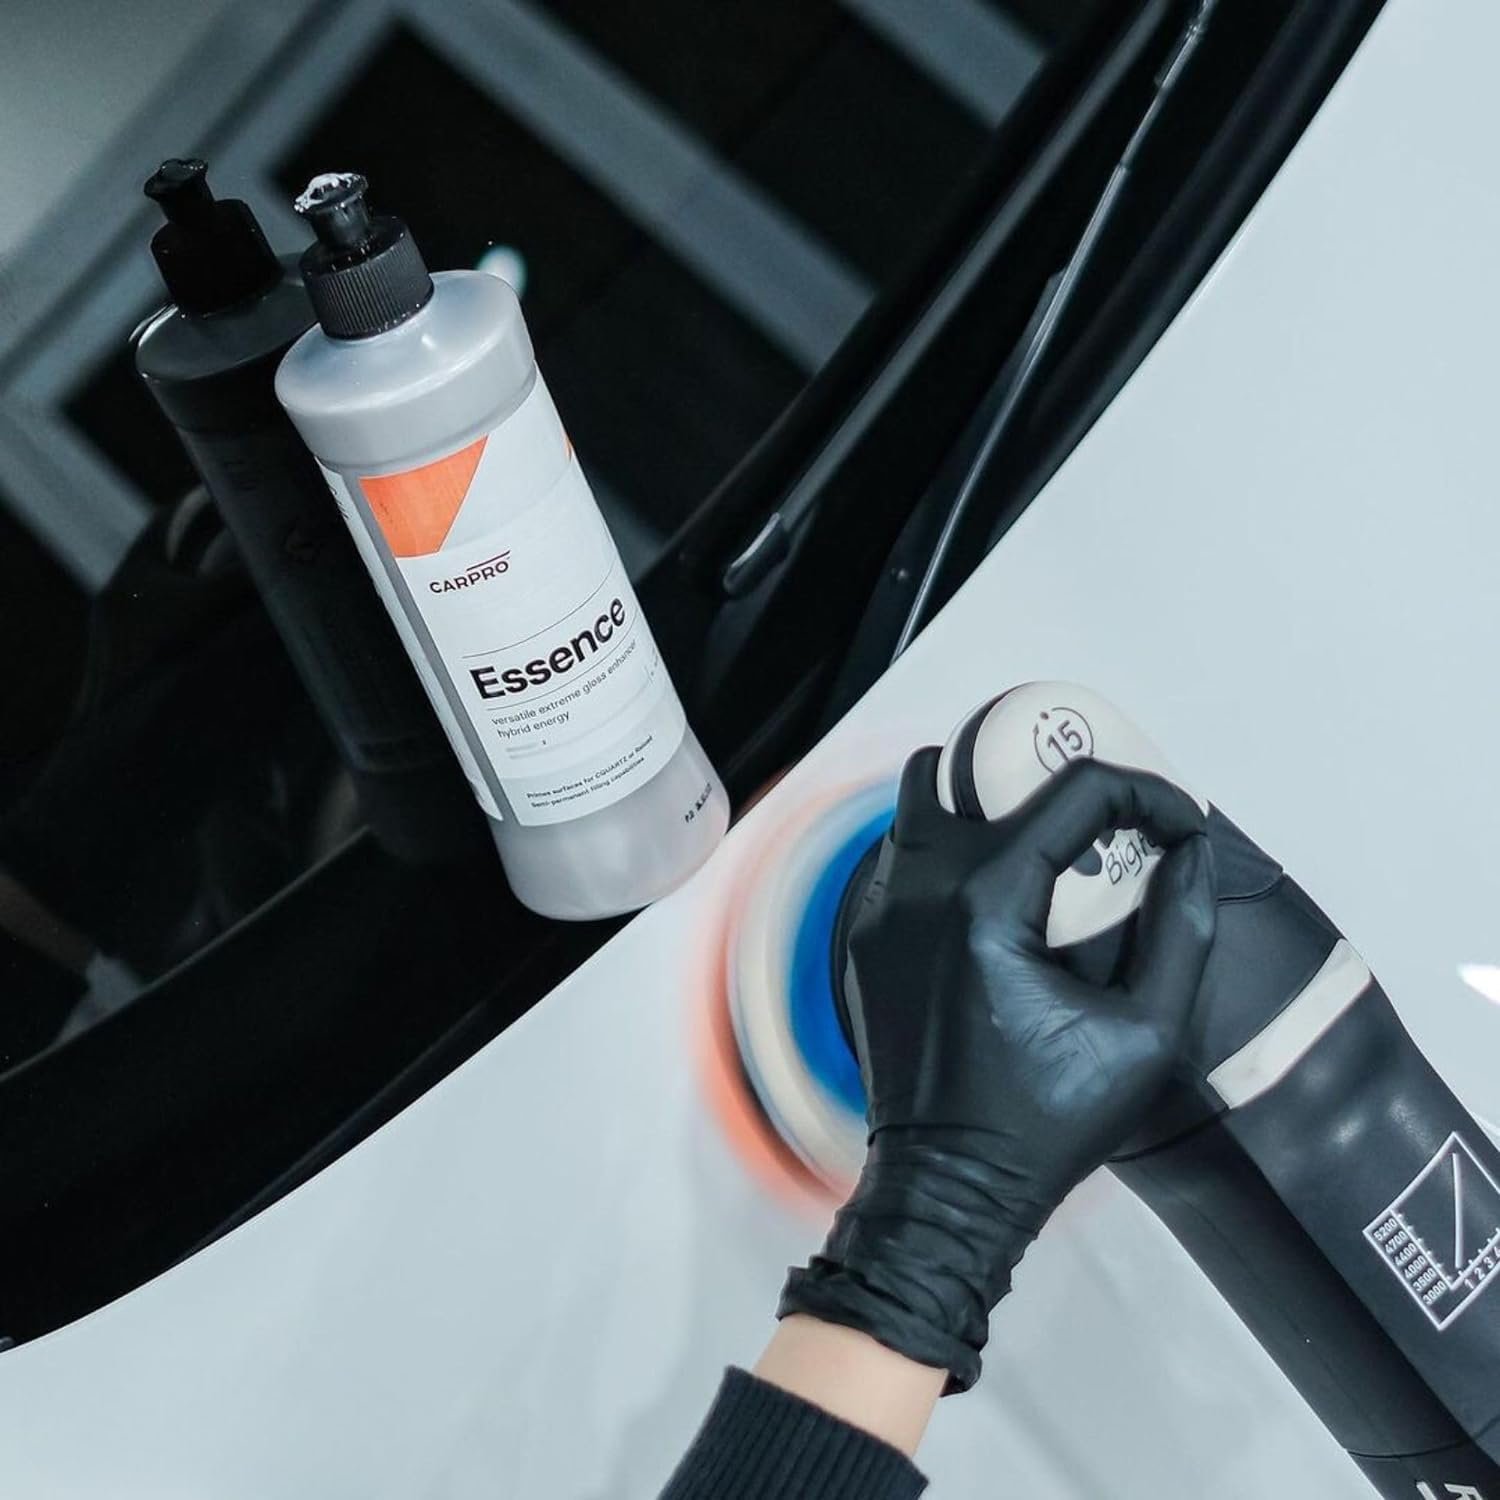
3. The Process of Paint Correction
Compounding: Use a rubbing compound and a more abrasive polishing pad attached to a polisher. This step is designed to remove deeper scratches and swirls. Work in small sections, applying the compound evenly and working it into the paint until the imperfections are removed.
Polishing: After compounding, switch to a finer polish and a less abrasive pad to refine the paint's finish. This stage restores shine and clarity to the paintwork by smoothing out any remaining micro-scratches and blending the areas treated with compound.
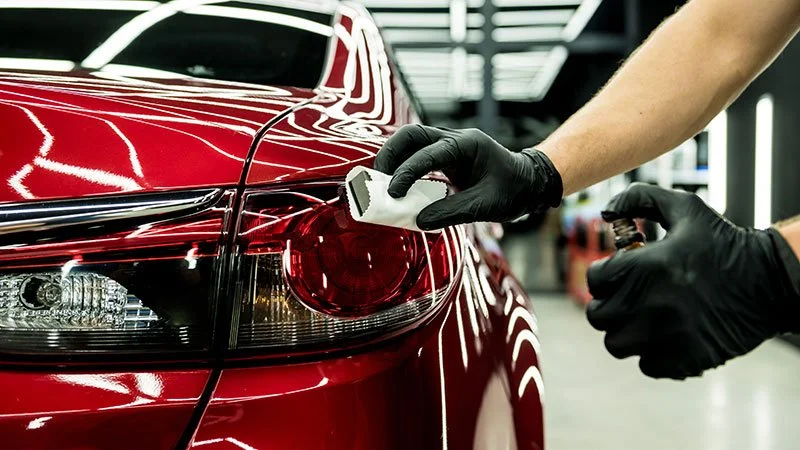
4. Finishing Touches
Waxing or Applying a Sealant: Finally, apply a high-quality car wax or a paint sealant. This step provides a protective layer over the paint, enhancing its gloss and providing a barrier against environmental pollutants and UV rays. Waxing or sealing helps maintain the results of the paint correction for a longer period.
Following this step-by-step guide will help ensure that the paint correction process is thorough and effective, leaving the vehicle with a restored, vibrant finish.
Professional Paint Correction Services

When considering paint correction for your vehicle, you might find that the job requires more expertise and specialized equipment than available in a DIY context. Here's when to consider professional services, what to look for in a provider, and what to expect in terms of costs and timeframes.
When to Consider a Professional Paint Correction Service
Severity of Imperfections: If your vehicle has deep scratches, severe oxidation, or complex paint issues, professional help may be necessary to achieve the best results.
Lack of Tools and Experience: Professional paint correction requires high-quality tools and products, along with experience in using them effectively. If you lack either, turning to a professional can ensure the job is done right.
Guarantee of Quality: For those who are particularly concerned about the appearance and upkeep of their vehicle, professionals can guarantee a certain level of quality and longevity of the correction.
What to Look for in a Professional Service Provider
Certifications and Training: Look for detailers who are certified and have undergone formal training in paint correction techniques.
Quality of Tools and Products: Ensure that the service provider uses high-quality, industry-standard tools and products.
Portfolio and Customer Reviews: Check their portfolio of before-and-after photos, and read customer reviews to assess the quality of their work and customer service.
Warranty or Satisfaction Guarantee: Some top-notch providers offer a warranty on their work, which can provide peace of mind regarding the investment in their services.
Expected Costs and Timeframes for Professional Services
Costs: The price of professional paint correction can vary widely depending on the vehicle’s size, the extent of the damage, and the reputation of the service provider. Typically, you might expect to pay anywhere from a few hundred to over a thousand dollars for comprehensive paint correction.
Timeframes: The time required can also vary significantly, typically ranging from a few hours for minor corrections to several days for extensive jobs involving high-end vehicles or severe damage.
Choosing professional paint correction services can be a worthwhile investment, especially when dealing with high-value vehicles or severe paint damage that demands expert attention.
DIY Tips and Common Mistakes in Paint Correction

Engaging in DIY paint correction can be a rewarding project that not only enhances the appearance of your vehicle but also helps you understand car maintenance better. Here are some essential tips to ensure effective DIY paint correction and some common mistakes to avoid.
Tips for Effective DIY Paint Correction
Start with a Clean Surface: Always begin with a thorough wash of the vehicle. Make sure to remove all dirt and debris to avoid dragging these particles over the paint during correction, which can cause additional scratches.
Use the Right Tools and Materials: Invest in a good quality polisher, polishing pads, microfiber cloths, and high-grade polish and compound. Using appropriate tools will significantly affect the outcome of your paint correction.
Work in Small Sections: Focus on small areas at a time (about 2x2 feet). This approach allows for more consistent results and ensures that you don’t miss any spots.
Keep the Pad Clean: Regularly clean your polishing pads throughout the process. Build-up on the pad can lead to uneven application and potentially damage the paint.
Test in an Inconspicuous Area: Before starting the whole vehicle, test your technique and the products on a small, less visible part of the car to ensure they do not cause any damage.
Common Mistakes to Avoid During the DIY Process
Skipping the Wash: Never start polishing a dirty car. Even tiny particles can create more scratches as you polish.
Using Too Much Pressure: Let the polisher do the work. Applying too much pressure can burn through the paint, especially on edges and raised surfaces.
Overusing Products: Using too much compound or polish won’t yield better results and can make the process more challenging. Apply small amounts and add more as needed.
Ignoring Tape Protection: Always tape off edges, trim, and sensitive areas. This helps prevent damage from the polisher on parts that are not meant to be touched by abrasive materials.
Rushing the Process: Paint correction is a time-consuming process. Rushing through it can lead to poor results and missed spots. Take your time to achieve a thorough, high-quality finish.
Following these tips and avoiding common pitfalls will help you achieve a professional-level outcome in your DIY paint correction project, ensuring your vehicle looks its best while maintaining the integrity of its paintwork.
The Benefits of Paint Correction

Paint correction is not just about maintaining the aesthetics of your vehicle; it also plays a critical role in the overall upkeep and value retention. Here are the primary benefits of incorporating paint correction into your regular car maintenance routine.
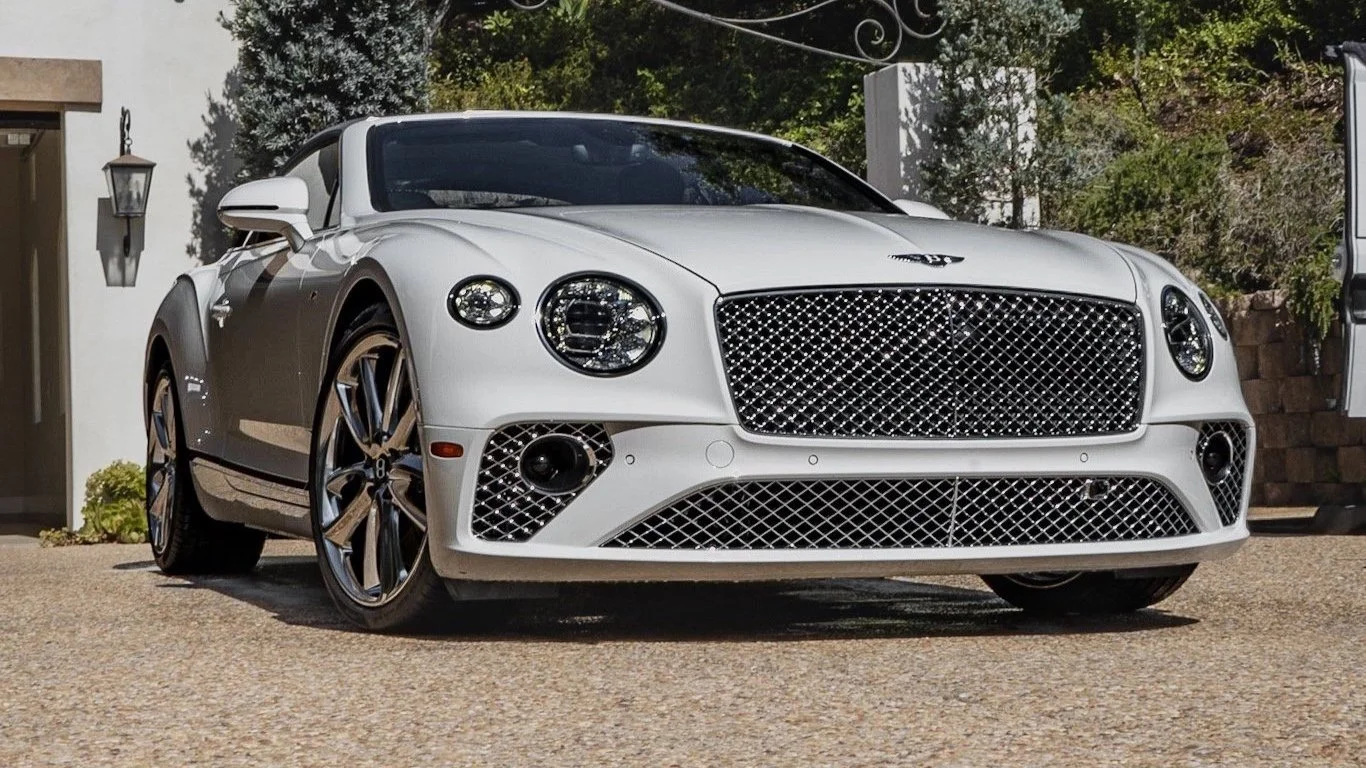
Enhancing the Appearance of the Vehicle
Restored Shine and Gloss: Regular paint correction removes surface imperfections like scratches, swirls, and oxidation, restoring the original shine and gloss of the vehicle's paint.
Consistent Finish: It helps maintain a uniform finish across the vehicle, preventing certain areas from looking worn or dull compared to others.
Protecting the Vehicle’s Paint from Environmental Damages
Barrier Against Elements: Corrected paint provides a smoother surface, which minimizes the sticking of dirt and pollutants, reducing the risk of rust and decay caused by these contaminants.
Reduced Oxidation and Fading: By removing the oxidized layer and adding a protective layer on top, paint correction helps protect the paint from further oxidation and fading caused by UV exposure.
Increasing the Resale Value of the Car
Improved Curb Appeal: A well-maintained vehicle with a flawless finish is more appealing to potential buyers, making it easier to sell at a higher price.
Documentation of Maintenance: Regular detailing, including paint correction, can be documented and presented as part of the vehicle's maintenance history, proving to potential buyers that the car has been well cared for, which can significantly increase its resale value.
Incorporating regular paint correction into your vehicle maintenance routine not only keeps your car looking its best but also helps safeguard your investment, ensuring that it remains protected, retains its value, and stands out in the resale market.
Maintenance After Paint Correction
Once your vehicle has undergone paint correction, maintaining the results is crucial to ensure the longevity of the finish and protect your investment. Here are effective tips and recommended products to help maintain the paint after correction.
How to Maintain the Paint After Correction
Regular Washing: Wash your vehicle regularly using a pH-neutral shampoo that does not strip protective coatings. Use a soft wash mitt and a two-bucket method to avoid introducing new scratches.
Use of Microfiber Towels: Always dry your vehicle with clean, high-quality microfiber towels to prevent swirls and scratches that can occur with rougher fabrics.
Park Smartly: Whenever possible, park your car in a garage or under cover. This protects the paint from environmental factors like sun, rain, bird droppings, and tree sap, which can cause damage over time.
Recommended Products and Practices for Prolonged Results
Wax or Sealant Application: Apply a high-quality wax or sealant regularly. These products provide a protective layer over the paint, enhancing its gloss and protecting it from UV rays, moisture, and dirt.
Ceramic Coatings: For longer-lasting protection, consider a ceramic coating. Ceramic coatings provide a harder, more durable protective layer than traditional waxes or sealants, offering better resistance against scratches, chemicals, and UV light.
Avoid Automatic Car Washes: Automatic car washes often use abrasive brushes that can damage the paint. Opt for hand washing or touchless car washes instead.
Regular Inspections: Regularly inspect the paint for any new imperfections or signs of wear. Addressing these issues promptly can prevent them from worsening.
By following these maintenance tips and using the recommended products, you can prolong the pristine appearance of your vehicle’s paint after correction, ensuring it stays protected and looks great for years to come.
FAQ Section: Common Questions About Paint Correction
-
Paint correction is a process used to remove surface imperfections on a vehicle's paintwork, such as swirls, scratches, oxidation, and etching. It involves a thorough cleaning and decontamination of the paint followed by the use of abrasive compounds and polishes to level the paint surface, restoring its original shine and smoothness.
-
The frequency of paint correction depends on various factors, including how the vehicle is used, stored, and maintained. Typically, a full paint correction is only necessary when there are visible imperfections. For well-maintained vehicles, this might be every few years. Regular maintenance like washing and waxing can prolong the results and reduce the need for frequent corrections.
-
No, paint correction and waxing are not the same. Paint correction is a corrective process that removes imperfections from the paint's surface. Waxing, on the other hand, involves applying a protective layer on top of the paint to enhance its shine and protect it from external elements. Waxing can be part of the maintenance routine after paint correction.
-
Paint correction can remove many types of surface scratches and imperfections. However, if a scratch is too deep, such that it penetrates through the paint and reaches the primer or metal, paint correction alone might not be sufficient to remove it. In such cases, more extensive repairs might be necessary.
-
Paint correction is about repairing and restoring the existing paint surface by removing imperfections. Paint protection, such as waxing, sealing, or applying ceramic coatings, involves adding a layer on top of the paint to protect it from future damage and degradation.
The Importance of Paint Correction in Car Maintenance
Paint correction is more than just a cosmetic fix; it is an essential part of maintaining the health and appearance of your vehicle's paintwork. Over time, environmental factors, improper washing techniques, and general wear and tear can degrade the quality of your car's paint. Paint correction steps in to address these issues, restoring the paint to its original or near-original condition by removing surface imperfections such as scratches, swirls, and oxidation.