How To Detail Your Own Car: Unlocking a New Era of Car Protection
Auto detailing stands at the intersection of art and science, combining precise techniques with a passion for pristine vehicles.
The question often asked by car enthusiasts is, "What is car detail?" and "Is auto detailing worth it?". The answers reveal a realm beyond the average car wash, delving into the intricacies of vehicle care. At Fresh Layer Mobile Detailing we have answers for all your auto detailing questions.
Let's guide you through each step of car detailing, complete with insights and tips from professional car detailers:
Why Home Detailing Matters
Your car isn’t just a vehicle—it’s an investment. Regular detailing enhances its aesthetic appeal and preserves its value by protecting the paint, interior materials, and undercarriage from wear and tear.
Learning how to detail your car at home gives you the flexibility to maintain your vehicle on your schedule, while saving money on professional services.
Whether you’re preparing for a special occasion or just want to keep your car looking its best, home detailing is an accessible and satisfying solution. Let’s dive into the step-by-step process.
Equipment Preparation For Diy Auto Detailing
Car detailing isn't just about the act itself, but the prep work that goes into it.
The right tools not only make the job easier but ensure that your car gets the meticulous attention it deserves.
Let's explore what equipment you need and why.
Step 1: Car Washing Process
Step 1: Rinse
Use a pressure washer or hose to remove loose dirt from the car’s surface.
Step 2: Apply Car Shampoo
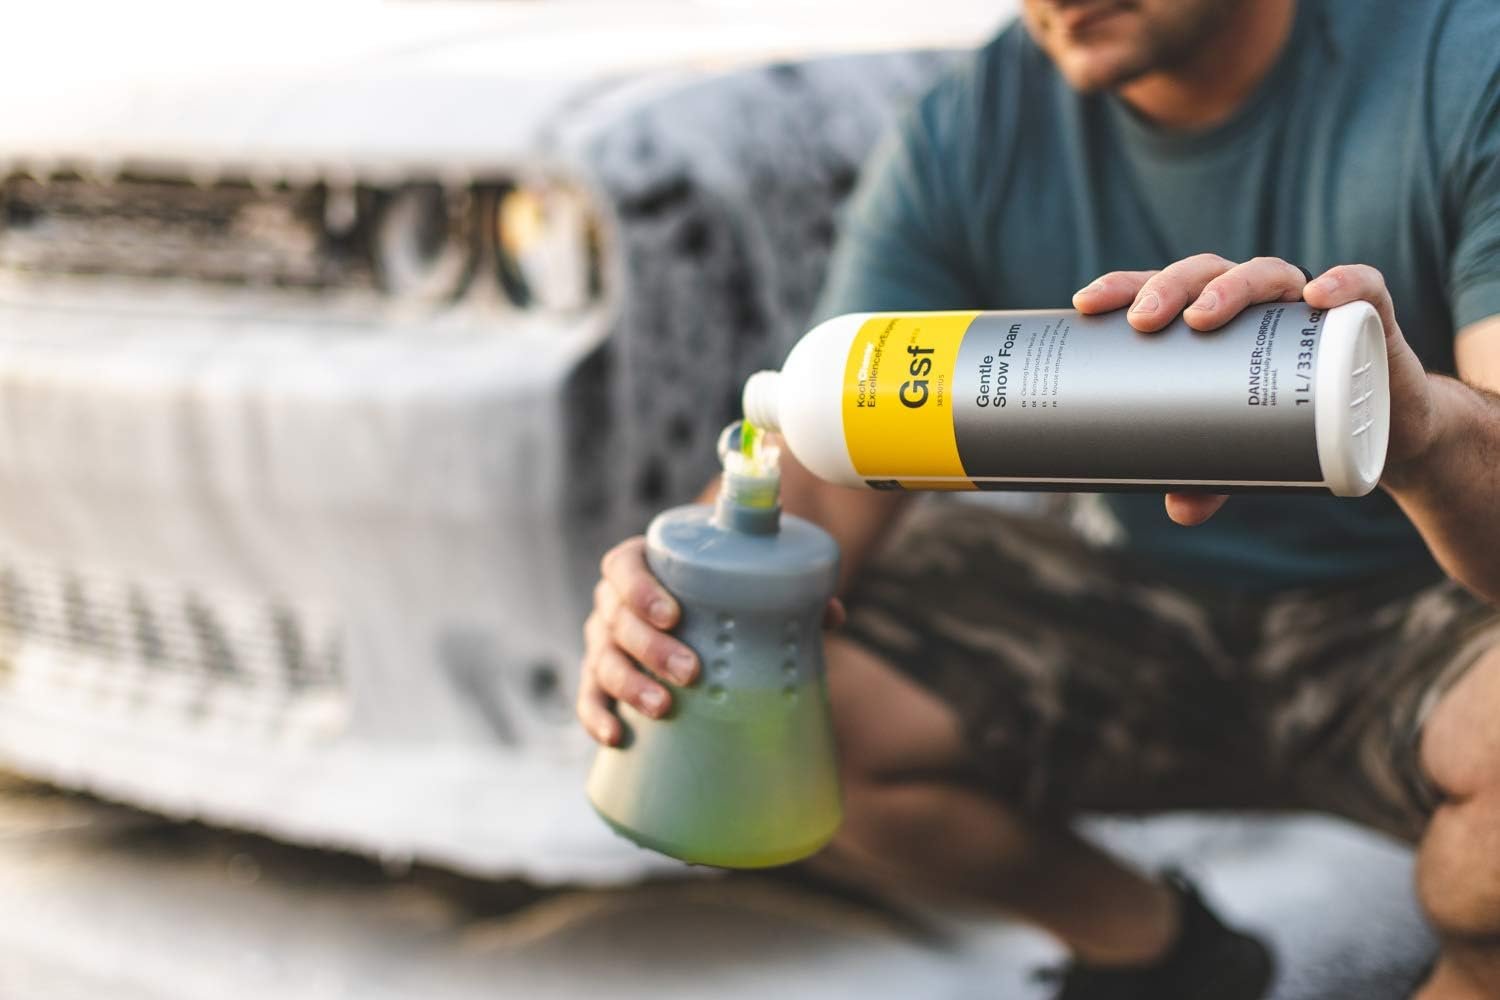
Apply a pH-neutral car shampoo using a microfiber wash mitt, working from top to bottom.
Step 3: Rinse Again
Thoroughly rinse off all soap residue, ensuring no spots are left behind.
Step 4: Dry
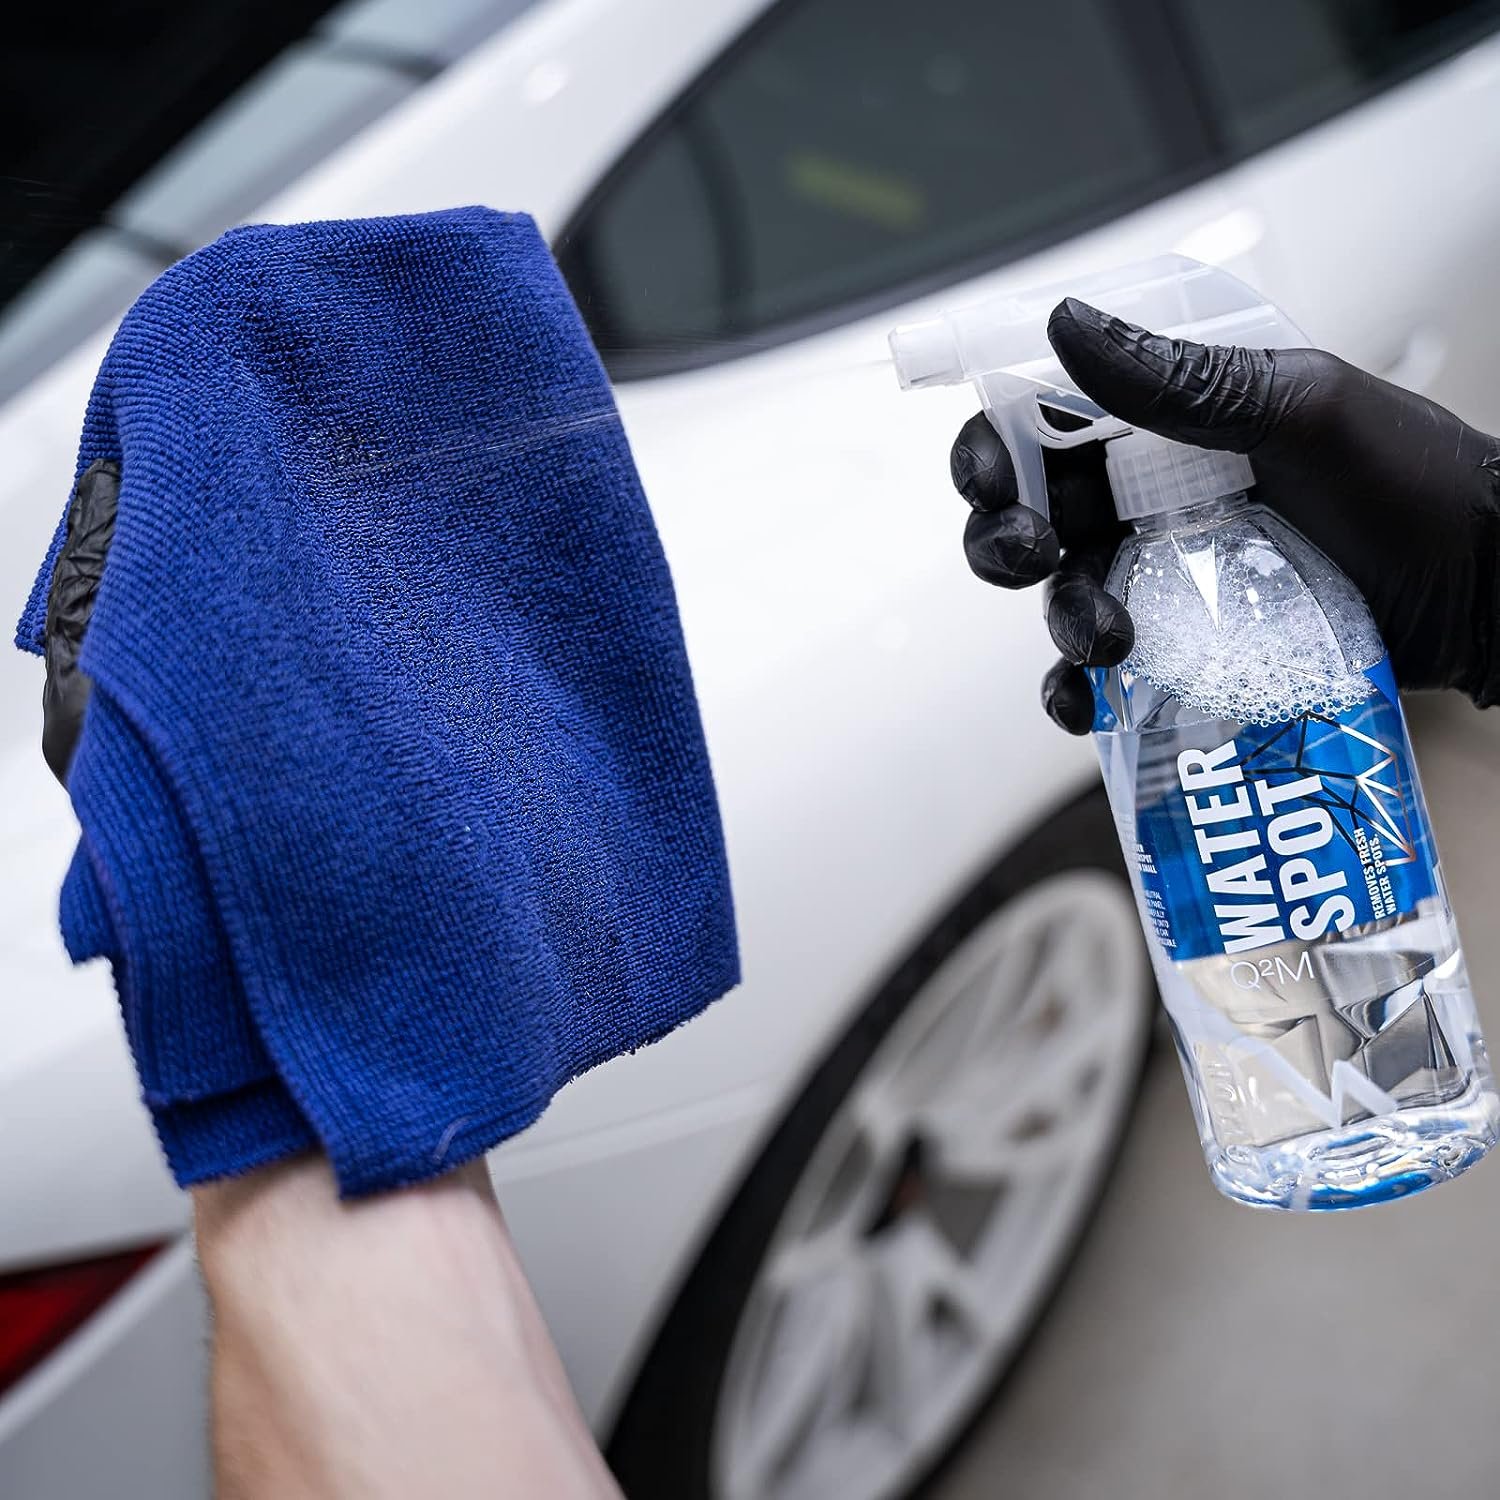
Use a clean microfiber towel to dry your car and avoid water spots.
How to Detail Your Own Car at Home
Gather the Right Tools and Supplies
Before starting, ensure you have everything you need for a seamless detailing experience. Investing in the right tools saves time and enhances results.
Essential Supplies:
Car Wash Soap: Choose a pH-neutral shampoo.
Buckets: Use a two-bucket system (one for soap, one for rinsing).
Microfiber Towels: For drying and polishing.
Clay Bar Kit: Removes embedded contaminants.
Wax or Sealant: Adds a protective layer to the paint.
Interior Cleaner: Specifically formulated for automotive surfaces.
Vacuum Cleaner: For carpets and seats.
Tire Cleaner and Brush: Cleans and shines tires.
Pro Tip: Always use automotive-specific products to avoid damaging your car’s surfaces.
Tools
Quality microfiber towels, two-bucket system, brushes, grit guards, car shampoo, wheel cleaner, waxes, or sealants.
Quality Microfiber Towels
These towels are known for their high absorbency and softness, making them ideal for a variety of tasks from drying to buffing without causing micro-scratches on your car's surface.
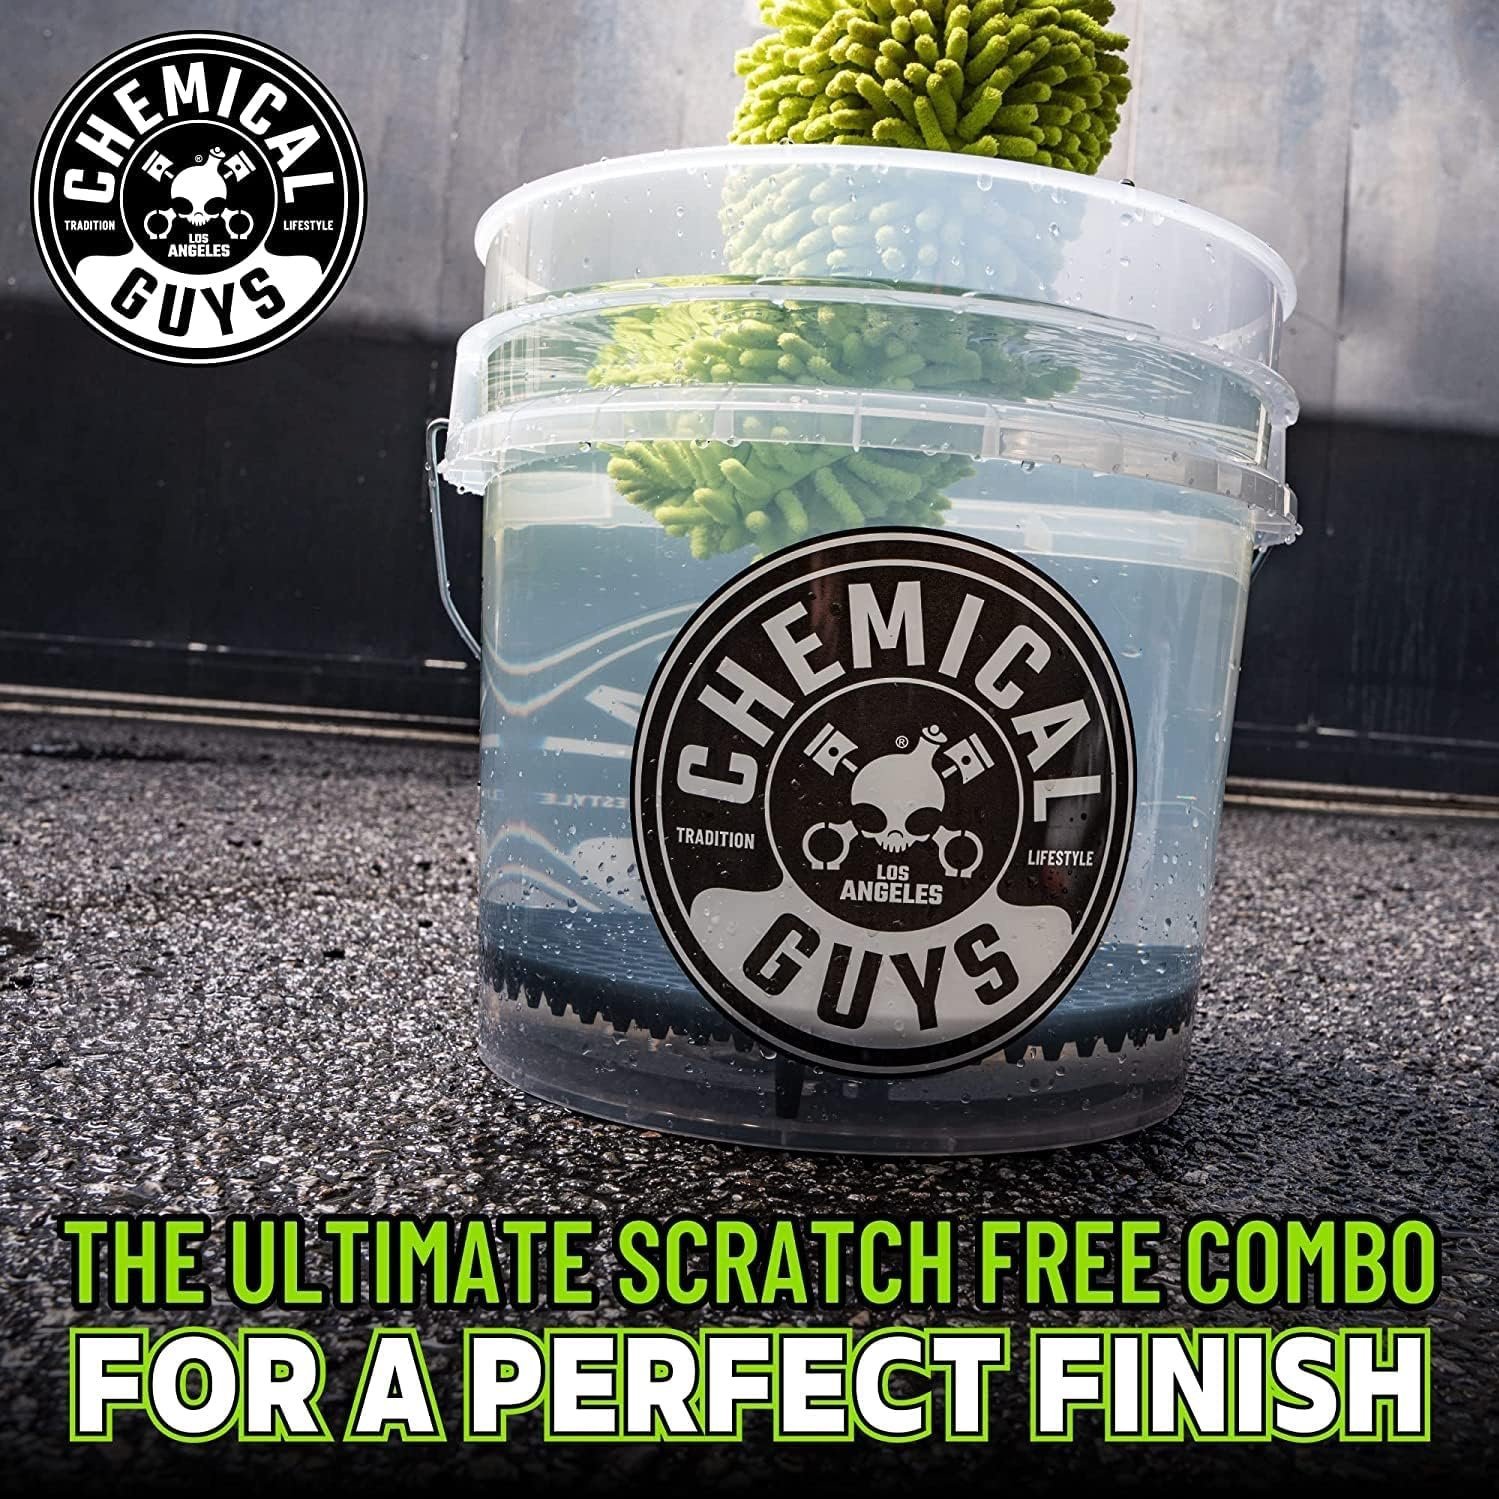
Two-Bucket System
Chemical Guys
Two-Bucket System: This system, one for clean water and another for rinse water, aids in ensuring that dirt and contaminants are not spread back onto the car, thereby reducing chances of swirl marks or scratches.
Detailing Brushes
Detailing Brushes
Brushes: Different brushes serve varied purposes. From detailing brushes that get into the tiniest of crevices to larger brushes designed for wheel wells, ensures every part of your car gets the attention it needs.
Grit Guards For Bucket System
Grit Guards For Bucket System
These are placed at the bottom of your rinse bucket and act as a barrier, ensuring the dirt that settles down isn't mixed back into the water. This reduces the chances of reintroducing grime onto your car.
Car Shampoo
Unlike household soaps, a quality car shampoo is designed to be gentle on your car's paint while effectively lifting dirt and contaminants.
Wheel Cleaner
Wheels often face harsh conditions, from brake dust to road salts. A good wheel cleaner will be tough on contaminants but gentle on your rims
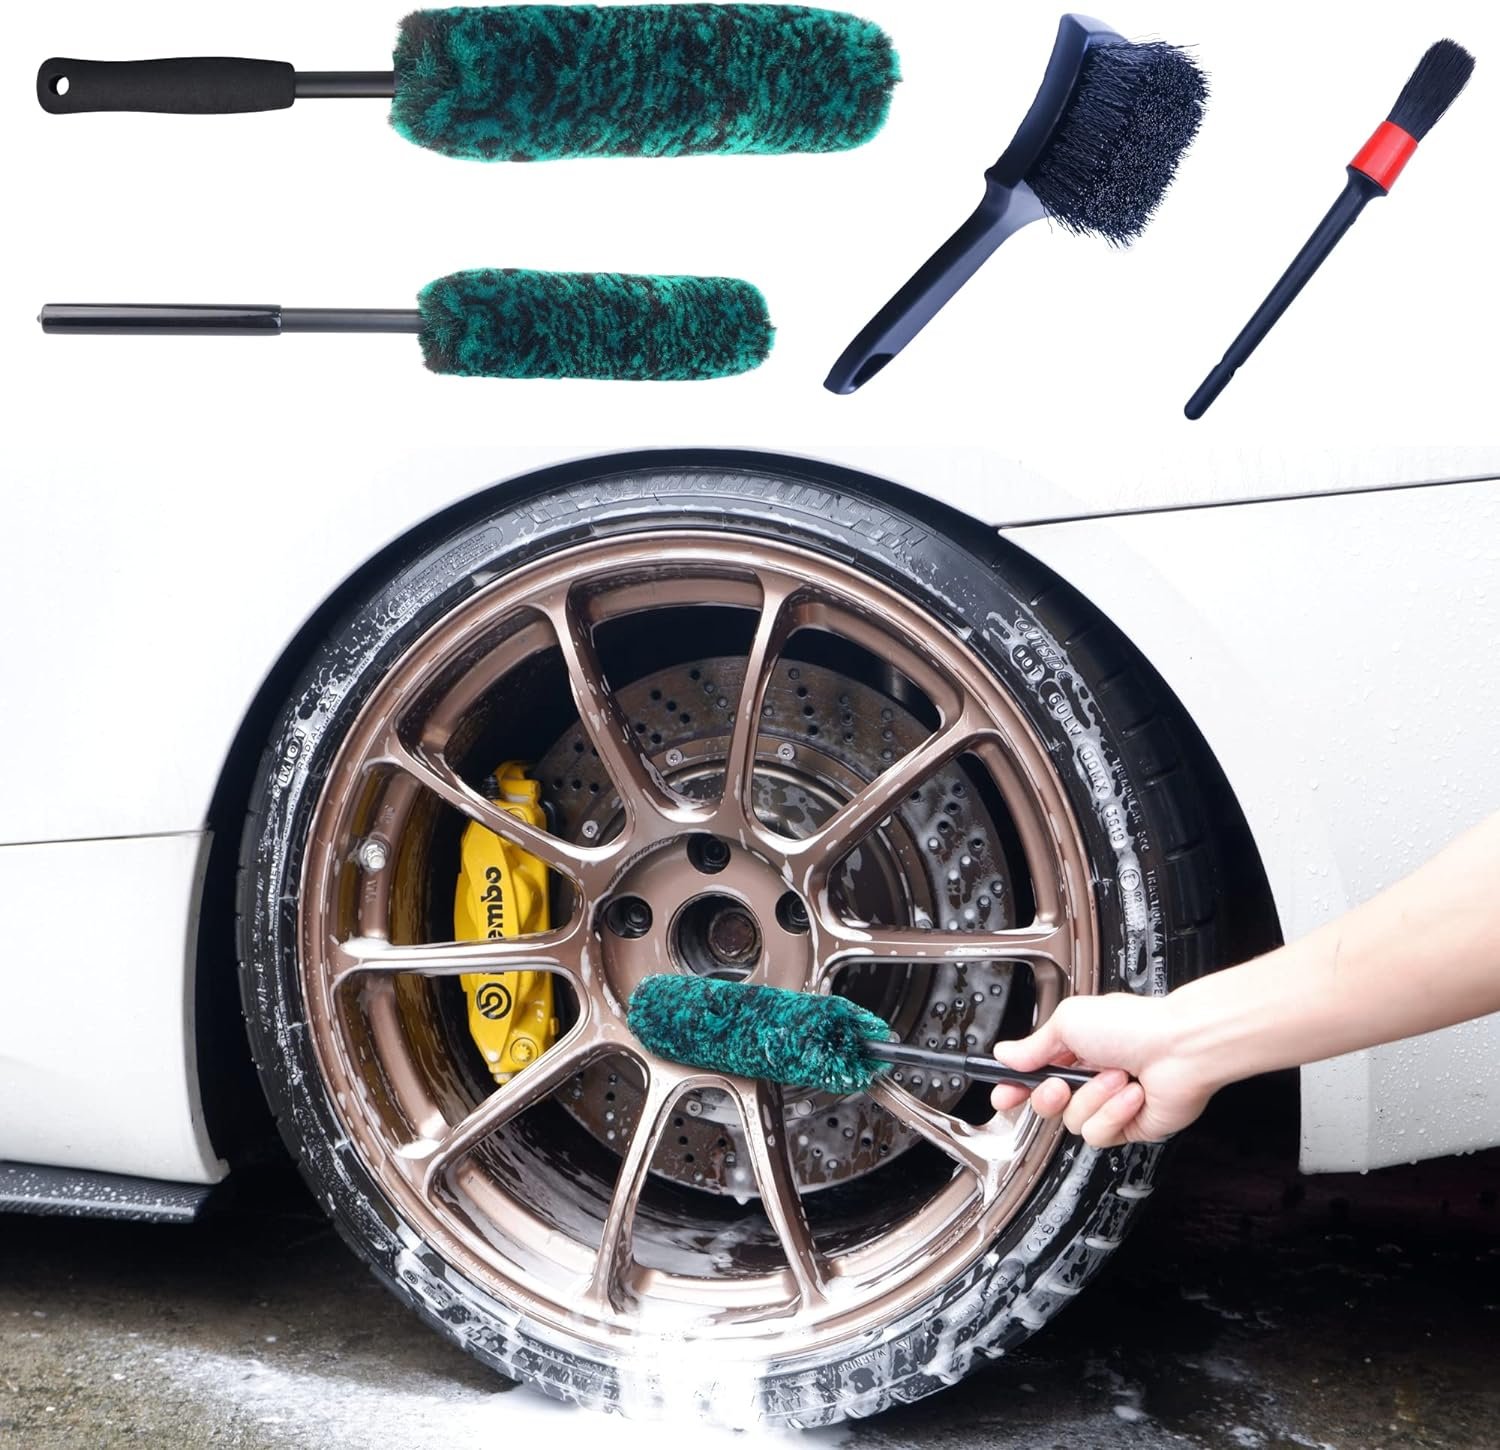
Wheel Brushes
Wheel Brushes Set
4 Pack Long Handle Wheel Brush Kit for Cleaning Cleaning Brush, Detailing Brush and Stiff Tire Brush
Paint Protection Products
Waxes or Sealants:
Once your car is clean, protecting it is key. Waxes and sealants provide a protective layer against environmental factors while enhancing the shine and luster of your vehicle.
Professional Tip
Starting with clean and quality tools is essential. It's not just about the effectiveness of cleaning but also about preventing potential damage.
Old, dirty towels or brushes might carry contaminants that can scratch or degrade your car's surface.
Moreover, the grit guard's importance cannot be stressed enough; it plays a pivotal role in maintaining the purity of your rinse water. Always remember, in detailing, as much as it's about adding shine, it's equally about preventing harm
Start with a Thorough Wash
Washing your car is the foundation of detailing. A proper wash removes dirt, grime, and contaminants, preventing scratches during the later stages.
Steps:
Rinse: Use a pressure washer or hose to remove loose dirt.
Soap Application: Apply car shampoo with a wash mitt, working from top to bottom.
Rinse Again: Ensure no soap residue remains.
Dry: Use a microfiber towel to gently dry the car.
Start with a Thorough Wash
Step 1: Rinse
Use a pressure washer or hose to remove loose dirt and debris from your car’s surface.
Step 2: Soap Application
Apply a pH-neutral car shampoo using a wash mitt. Work from top to bottom to avoid spreading dirt to clean areas.
Step 3: Rinse Again
Rinse off all soap residue thoroughly, ensuring no spots are left behind.
Step 4: Dry
Use a microfiber towel to gently dry the car, preventing water spots and streaks.
Common Mistake to Avoid
Avoid using dish soap or household cleaners—they strip protective layers and can damage your car’s paint.
Master the Basics of Car Washing!
Visit Fresh Layer Mobile Detailing for expert tips and services.
Common Mistake: Avoid dish soap or household cleaners—they strip protective layers and can harm your car’s paint.
Decontaminate the Paint with a Clay Bar
Even after washing, your car’s paint may have embedded contaminants. A clay bar removes these impurities, leaving the surface smooth and ready for polishing.
How to Use a Clay Bar:
Spray a clay lubricant on the car’s surface.
Gently glide the clay bar over the paint in straight lines.
Wipe off excess lubricant with a microfiber towel.
Decontaminate the Paint with a Clay Bar
Why Use a Clay Bar?
A clay bar removes embedded contaminants, leaving your car’s paint smooth and ready for waxing or polishing.
How to Use a Clay Bar
- Step 1: Spray a clay lubricant onto the car’s surface.
- Step 2: Glide the clay bar over the paint in straight lines, applying gentle pressure.
- Step 3: Wipe off excess lubricant with a microfiber towel.
Did You Know?
Cars treated with a clay bar before waxing achieve a 50% smoother finish compared to those that skip this step.
Achieve a Perfectly Smooth Finish!
Explore professional detailing services at Fresh Layer Mobile Detailing.
Fact: Cars treated with a clay bar before waxing have a 50% smoother finish compared to those that skip this step.
Polish to Restore Shine
Polishing removes swirl marks, light scratches, and oxidation, restoring the car’s original gloss.
Steps:
Apply a small amount of polish to a foam applicator.
Work in small sections, using circular motions.
Buff off the polish residue with a clean microfiber towel.
Polish to Restore Shine
Why Polish?
Polishing removes swirl marks, light scratches, and oxidation, restoring your car's original gloss and enhancing its overall appearance.
Steps to Polish Your Car
- Step 1: Apply a small amount of polish to a foam applicator pad.
- Step 2: Work in small sections, using circular motions for even coverage.
- Step 3: Buff off the polish residue with a clean microfiber towel for a brilliant shine.
DIY or Machine?
While hand polishing is effective, using a dual-action polisher provides faster and more consistent results, especially for larger areas.
Restore Your Car's Shine Today!
Discover expert polishing services at Fresh Layer Mobile Detailing.
DIY or Machine: While hand polishing is effective, a dual-action polisher achieves faster and more consistent results.
Protect the Paint with Wax or Sealant
Waxing or applying a sealant protects your car’s paint from UV rays, water spots, and dirt.
How to Apply:
Apply wax or sealant with a foam pad in small, circular motions.
Let it cure for a few minutes (follow product instructions).
Buff to a shine with a microfiber towel.
Protect the Paint with Wax or Sealant
Why Wax or Seal?
Wax or sealant provides a protective layer that guards against UV rays, water spots, and dirt, ensuring your car’s paint looks newer for longer.
How to Apply Wax or Sealant
- Step 1: Use a foam pad to apply wax or sealant in small, circular motions.
- Step 2: Allow it to cure for a few minutes (follow product instructions).
- Step 3: Buff the surface with a microfiber towel for a high-gloss finish.
Did You Know?
Cars with wax or sealant show 30% fewer signs of fading after a year compared to untreated vehicles.
Keep Your Paint Protected Today!
Get expert waxing services at Fresh Layer Mobile Detailing.
Stat: Cars with wax or sealant show 30% fewer signs of fading after a year.
Detail the Interior
Interior detailing improves your car’s comfort and ensures longevity of its materials.
Steps:
Vacuum: Remove dirt and debris from carpets, seats, and floor mats.
Clean Surfaces: Use an interior cleaner for dashboards, door panels, and consoles.
Condition Leather: If your car has leather seats, apply a conditioner to prevent cracking.
Clean Glass: Use an automotive glass cleaner for streak-free windows.
Detail the Interior
Why Interior Detailing?
Interior detailing improves your driving experience, maintains material longevity, and ensures a clean and fresh ambiance inside your car.
Steps for Interior Detailing
- Step 1: Vacuum - Remove dirt and debris from carpets, seats, and floor mats.
- Step 2: Clean Surfaces - Use an interior cleaner for dashboards, door panels, and consoles.
- Step 3: Condition Leather - Apply a leather conditioner to seats to prevent cracking and maintain softness.
- Step 4: Clean Glass - Use an automotive glass cleaner for streak-free windows.
Pro Tip
Avoid glass cleaners with ammonia—they can damage tinted windows.
Transform Your Car’s Interior Today!
Book professional interior detailing at Fresh Layer Mobile Detailing.
Pro Tip: Avoid using glass cleaner with ammonia—it can damage tinted windows.
Clean the Wheels and Tires
Wheels and tires are often the dirtiest parts of the car. Giving them attention elevates your car’s overall appearance.
Steps:
Apply a tire cleaner and scrub with a stiff brush.
Use a dedicated wheel cleaner for rims.
Rinse thoroughly and dry with a microfiber towel.
Apply tire shine for a polished look.
Clean the Wheels and Tires
Why Focus on Wheels and Tires?
Wheels and tires are the dirtiest parts of your car, but proper cleaning elevates your car’s overall appearance and ensures longevity.
Steps for Spotless Wheels and Tires
- Step 1: Apply a tire cleaner and scrub with a stiff brush to remove dirt and grime.
- Step 2: Use a dedicated wheel cleaner to tackle brake dust and stains on rims.
- Step 3: Rinse thoroughly and dry with a microfiber towel to avoid water spots.
- Step 4: Apply tire shine for a polished, showroom-ready look.
Enhance Your Car’s Look Today!
Get professional wheel and tire detailing at Fresh Layer Mobile Detailing.
Finish with the Windows
Clean windows improve visibility and add a final touch of perfection.
How to Clean:
Spray an automotive glass cleaner onto a microfiber towel.
Wipe the glass in vertical and horizontal motions.
Buff to a streak-free finish.
Finish with the Windows
Why Clean Windows Matter
Clean windows not only improve visibility for safe driving but also add the finishing touch to your car’s detailed appearance.
How to Clean Windows
- Step 1: Spray an automotive glass cleaner directly onto a microfiber towel to avoid overspray.
- Step 2: Wipe the glass using vertical and horizontal motions for thorough coverage.
- Step 3: Buff the glass with a clean section of the towel for a streak-free, clear finish.
Achieve Crystal-Clear Windows!
Get professional glass cleaning services at Fresh Layer Mobile Detailing.
Inspect Your Work
After completing the detailing process, inspect your car for any missed spots or areas that need extra attention.
Checklist:
Are there streaks on the windows?
Is the paint evenly polished and protected?
Have the tires and wheels been cleaned thoroughly?
DIY Detailing Checklist
1. Preparation
- Gather tools: microfiber towels, cleaners, wax, etc.
- Park in a shaded area.
- Prepare two buckets (soap and rinse).
2. Exterior Cleaning
- Rinse car to remove dirt.
- Wash with pH-neutral shampoo.
- Dry with microfiber towel.
- Clay bar to remove contaminants.
- Polish and buff for a smooth finish.
- Apply wax or sealant; buff to shine.
3. Interior Detailing
- Vacuum carpets, seats, and mats.
- Clean dashboards and door panels.
- Condition leather seats (if applicable).
- Clean glass with streak-free finish.
4. Wheels and Tires
- Scrub tires with a stiff brush.
- Clean wheels with a dedicated cleaner.
- Dry thoroughly to avoid spots.
- Apply tire shine for a polished look.
5. Final Inspection
- Check for streaks on windows.
- Ensure paint is polished and protected.
- Confirm wheels and tires are spotless.
- Inspect door jambs and hard-to-reach areas.
Achieve a Professional Finish at Home!
Learn more detailing tips at Fresh Layer Mobile Detailing.
Pro Tip: Perform this inspection under bright light to catch any imperfections.
Frequently Asked Questions About Detailing Your Car at Home
-
Ideally, you should detail your car every 3–4 months. Regular maintenance like washing and vacuuming can be done weekly.
-
While DIY detailing can achieve excellent results, professionals have access to advanced tools and products for a showroom finish.
-
Avoid household products like dish soap or glass cleaner with ammonia—they can damage your car’s surfaces. Stick to automotive-specific products.
-
A full detail can take 4–8 hours, depending on the car’s size and condition.
-
DIY detailing typically costs $50–$100 for supplies, compared to $150–$300 for professional services.
Conclusion: Take Pride in Your Ride
Detailing your car at home is more than just cleaning—it’s an act of care and attention that keeps your car looking its best. With the right tools, techniques, and a little patience, you can achieve professional-level results. Plus, the sense of accomplishment from a job well done is unparalleled.
So, gather your supplies, follow the steps outlined in this guide, and give your car the makeover it deserves. For advanced detailing services or expert advice, visit Fresh Layer Mobile Detailing today.
